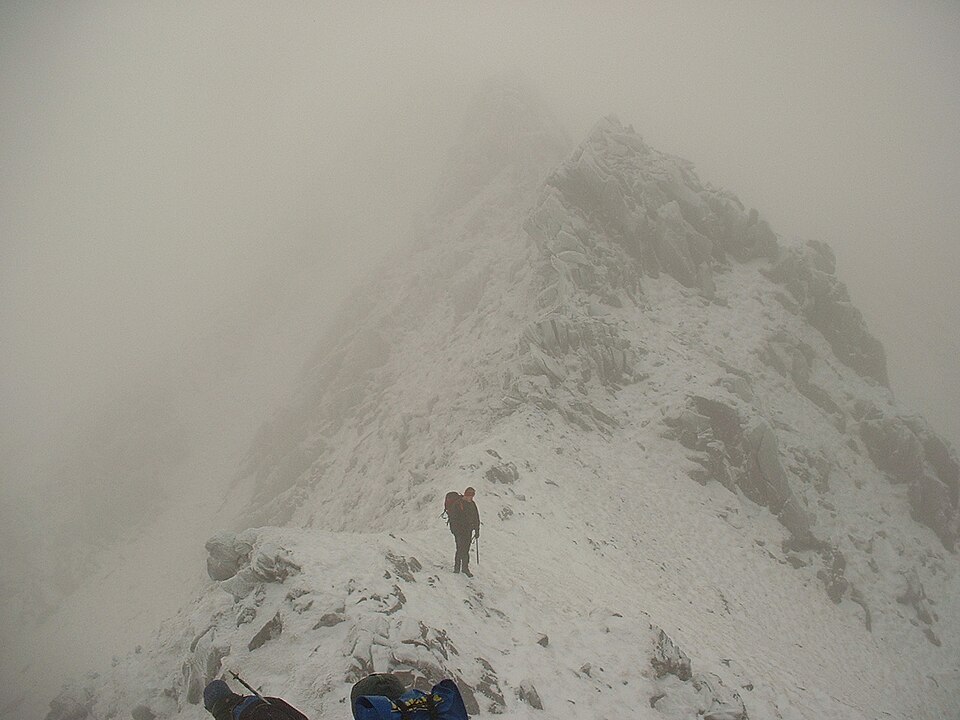
Most bad days on the Scottish hills are planned, not discovered. The route that turned into an epic, the benightment, the retreat off a summit in whiteout — nearly all of it traces back to decisions made at the kitchen table days before, or to the fact that no real planning happened at all. Get the planning right and the walk itself becomes the easy part.
This is the workflow I run through before every Munro day, whether it's a familiar hill or somewhere new. It takes twenty minutes and it's the cheapest insurance you'll ever buy.
Step 1: Choose a hill that fits you and the day
Start honest. Match the hill to your fitness, your experience, the season, and who you're walking with. A fit hillwalker in June can happily take on a long Cairngorms round; the same route in January, in snow, is a serious mountaineering day. A first-timer should not cut their teeth on the Aonach Eagach.
Think about three things together: distance and ascent (how much work), terrain (path, pathless, scrambling, exposure), and season (daylight, snow, underfoot conditions). If any one of those is at the edge of your comfort, keep the other two well within it. If you're still building up, our guide to the best Munros for beginners is a sensible place to start, and the best time to bag each region helps you avoid picking a fight with the calendar.
Step 2: Read the map properly
Get the route onto a map before you commit to it. You want the numbers and the shape of the ground.
- Distance: measure the full round, out and back. A "short" Munro can still be 12km.
- Ascent: total height gained, including any re-ascent on the way back or between tops. This matters more than distance for how tired you'll be.
- Contours: read the shape. Tightly packed lines mean steep ground; a clean spacing of them up a spur is a friendlier line than a headwall of crags.
- Hazards: mark crags, steep gullies, lochans and river crossings. Note where a path exists and where it simply stops.
If you're not fluent in what the symbols and contours are telling you, spend time with our explainer on Munro maps — knowing the difference between a 1:25,000 and a 1:50,000 sheet, and what the shading means, changes how you see a route.
Step 3: Estimate your timing with Naismith's rule
Naismith's rule gives you a baseline: allow 1 hour for every 5km of distance, plus an extra hour for every 600m of ascent. So a 14km route with 1,000m of climb works out at roughly 2 hours 48 minutes plus 1 hour 40 minutes — call it four and a half hours of moving time.
Then adjust for reality. Naismith assumes a fit walker, reasonable ground and no stops. Add time for rough or pathless terrain, snow, heavy loads, big groups, photo stops and lunch. Most people should pad the raw figure by a third or more. The number you actually care about is your total day length, door of the car to door of the car.
Step 4: Identify the route and your escape options
Now fix the line you'll follow, and — just as important — the ways off it. For every walk, know your escape routes: the points where you can bail early to safe, low ground if the weather closes in, someone's struggling, or you're behind schedule. On a ridge that might mean the only sensible retreat is back the way you came, which is worth knowing before you start rather than halfway along.
Note decision points on the map: the col where you commit to the second top, the top of the descent gully you must not overshoot. These are the places where good navigation earns its keep.
Step 5: Check the mountain weather — for the summit, not the valley
The forecast that matters is the mountain forecast, and specifically conditions at summit height, not the pleasant number you saw for the nearest town. A dry, still valley can sit under a summit that's in cloud, blasted by 50mph wind and 8 degrees colder. Use a dedicated mountain service — the Mountain Weather Information Service (MWIS) and the Met Office Mountain forecasts are the standards — and read the whole picture: wind speed and gusts, cloud base (will you be walking in it?), freezing level, precipitation and how it all changes through the day.
Our guides on how to check Munro weather and understanding Scottish mountain weather go into how to turn a forecast into a go/no-go decision. Wind is the underrated killer: 40mph gusts on an exposed ridge can knock you off your feet.
Step 6: Work out daylight and set a turnaround time
Check the time of sunset for the actual date, then work backwards. You want to be off the difficult ground, ideally back at the car, with a margin before dark. From your total day length in Step 3 and your start time, you get a rough finish. If it lands after dusk, either start earlier or shorten the route.
Then set a turnaround time: a fixed time at which you turn back regardless of how close the summit looks. Summits are optional; getting home isn't. Carry a headtorch on every walk anyway, even a short summer one — plans slip.
Step 7: Sort the start point, kit and your safety net
Pin down the parking and start point in advance — grid reference or a dropped pin, not just "there's a lay-by". Parking is often limited, and starting from the wrong spot can add kilometres you didn't budget for.
Pack for the conditions you'll actually meet, which means the summit forecast, not the car park. That's a full waterproof shell, insulation, hat and gloves even in summer, food, water, a first aid kit and a headtorch as the baseline — see our complete Munro packing list. In winter add ice axe, crampons and the skills to use them.
Finally, tell someone your plan: your route, your expected return time, and what to do if you don't check in. Leave it with a person, not just a note on the dashboard.
Step 8: Load your navigation — and a backup
Map and compass first, and the ability to use them; batteries fail and screens crack. Build those skills with our guide to navigation in the Scottish mountains. Then add a digital backup with your route and maps downloaded for offline use, because there's rarely signal on the hill — our piece on offline maps for Munro bagging explains how to set that up so it works when you have no reception.
This is where planning pays off on the day. In the Munros app you can pick your hill, see distance and ascent, download the map for offline use, and follow your live GPS position on the ridge when the cloud comes down and everything looks the same — turning the plan you made at home into something you can actually navigate by in the mist.
Related guides
- Munro Maps Explained — read distance, ascent and hazards before you commit to a route.
- How to Check Munro Weather — turn a summit forecast into a go/no-go call.
- The Complete Munro Packing List — pack for the conditions your plan will actually meet.
Browse Related Hubs
Track your Munros
Log summits, get summit weather, and follow GPS routes for all 282 Munros. Free on the App Store.
Download the Free App